Testing system: Intel Pentium III (Katmai) 600MHz@672MHz, 256mb SDRAM, IBM 60gb 7200rpm IDE harddrive, ASUS 7700 Ti Deluxe (nVIDIA GeForce 2 GTS), Virtualdub 1.4.8 and DivX 5.0 on Windows XP Professional.
The GeForce's input quality is not the best, but pretty decent. I've also used Pinnacle's PCTV Rave for quite good captures.
Since this is a time when DVDs are becoming more popular and VHS tapes are beginning to slowly disappear, I had a need to convert all of my favourite VHS recordings to some digital format. Since my graphics card has composite and s-video (s-vhs) video inputs, I decided to capture the old VHS tapes and compress them to DivX, so that I could burn them on CD-ROMs for later viewing. I used the s-video input, since it generally gives a better image quality than the composite cable. I found that the programs supplied with my graphics card were quite inadequate. I found an excellent and free video editing software for the task, namely Virtualdub.
This guide can also be adapted to capturing TV shows. If you're capturing TV programs, just ignore the section about cropping the video, as TV broadcasts seldom have similar distorts in the picture as VHS sources.
- Start Virtualdub and go to capture mode.
File -> Capture AVI...
- If not already ticked, tick it. Note that not all cards support video overlay.
Video -> Overlay
- You should now see your video signal on the screen. Next, check capture audio settings.
Audio -> Compression...
I found the below settings quite sufficient for my use. If your computer is fast enough (mine isn't) you can compress the audio straight to, for example, MP3 or OGG, provided that you have the correct codecs installed.

- Set video compression. If your computer is fast enough you can try and compress on-the-fly to DivX. Mine isn't, so I'll just be using UYVY and compress it later to DivX. Please note that capturing in UYVY or other "raw" format will result in VERY large files (something like 1GB for every 2 minutes of video!). You might also want to check out the Huffyuv codec.
Video -> Compression...
- Set video format. I used a widescreen format when capturing. My card's drivers didn't support any of the standard widescreen (16:9) formats offered by Virtualdub, so I had to define a custom format in Virtualdub. Some common widescreen (16:9) resolutions are 528x288, 576x320, 672x368 and 688x384. Some common 4:3 resolutions are 320x240.
Video -> Set custom format...

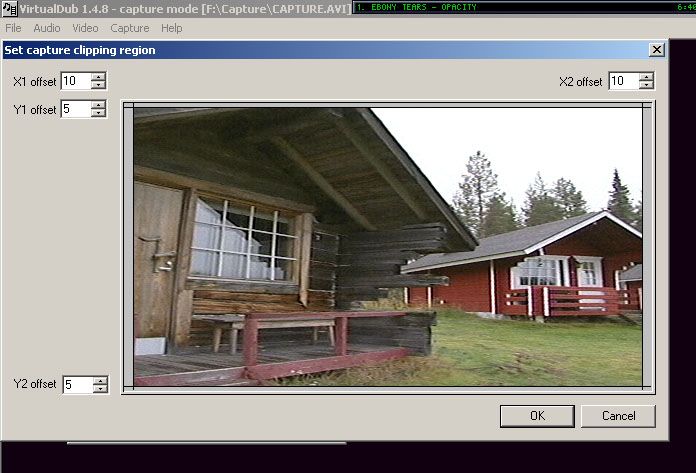
- Set cropping. When capturing from VHS, you usually get a few scan lines at the bottom, top and/or sides of the picture, that only make the picture look bad. Let's get rid of them. You'll need to experiment to find out how much you need to crop. This also varies a bit from tape to tape.
Video -> Cropping -> Set bounds

- We still need to enable the cropping of the video.
Video -> Cropping -> Enable
- If your VCR is old and/or the tape worn, noise reduction is a good idea. The default threshold is pretty good.
Video -> Noise Reduction -> Enable
- Check capture settings. My video standard is PAL since I live in Europe, i.e. it uses 25fps (frame rate). We need to change the default frame rate to 25, or else we'll be dropping a lot of frames.
Capture -> Settings...

- Set capture file.
File -> Set capture file...
- Ready for capture!
Capture -> Capture video
- Troubleshooting
- No audio? Check cables and Windows Mixer (the recording tab too!).
- Dropping a lot of frames? Maybe a slow disk or too high CPU usage.
- CPU usage 90% or over? Too slow CPU. Decrease compression settings.
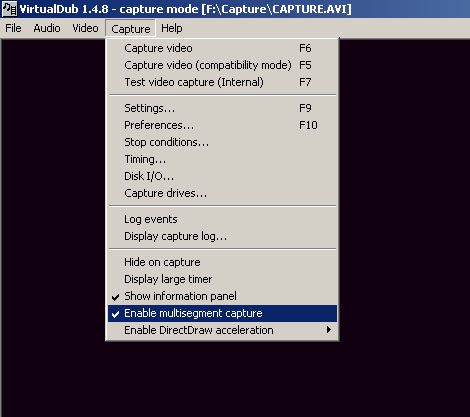
- FAT32 filesystem and need to capture over 4 GB? Use multisegment capture (Capture -> Enable multisegment capture).
